
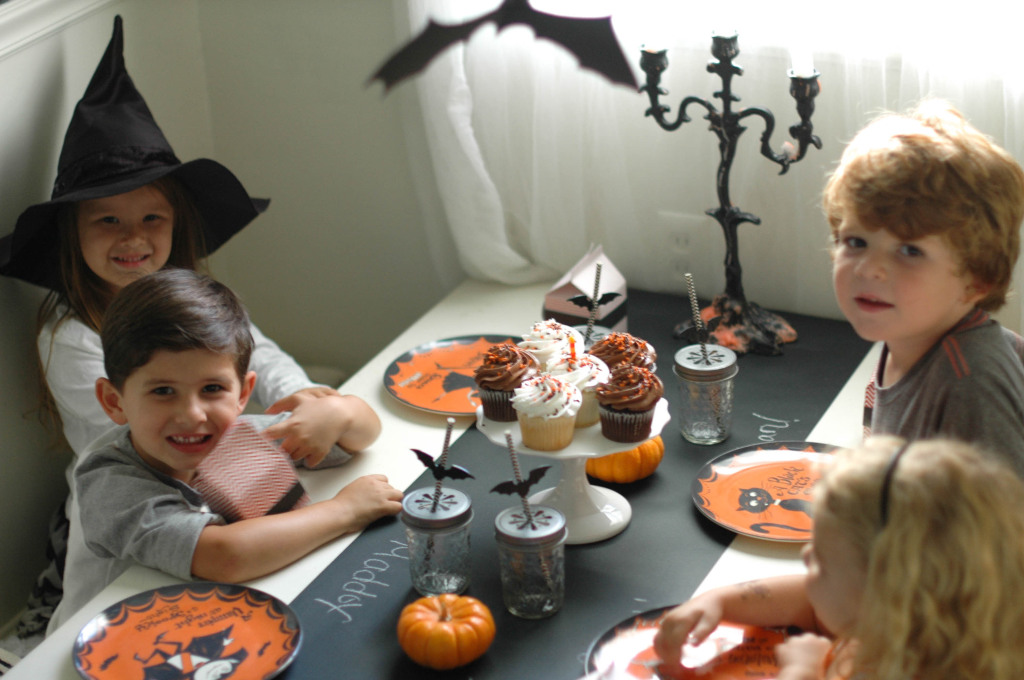
Happy Birthday Maddox!
To create this haunted look, I tried to recycle as much as I could. I used an old fabric as a curtain and nailed it to the window, cut some paper bats from poster boards and hung it from the ceiling with some fishing line. I also used a chalkboard paper runner that I found at Target and I think it turned out pretty cute and cheap. What do you think?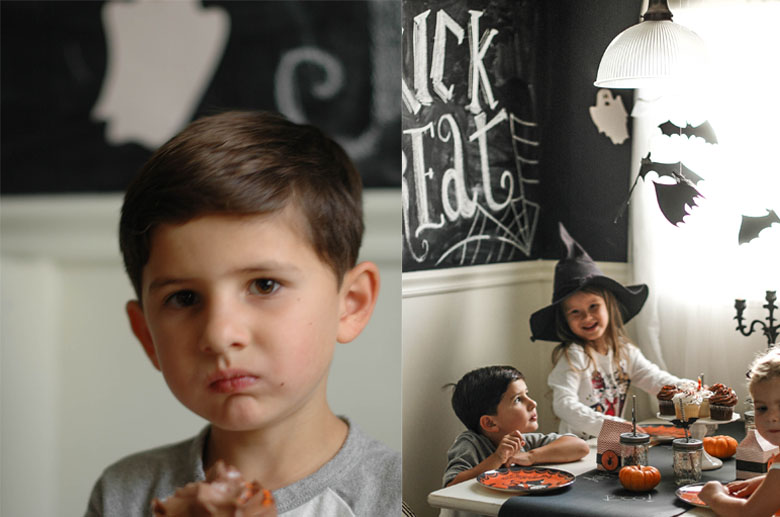
busy Fingers
Mummy Juice Boxes
4 days until Halloween,and it’s crunch time at our house. Today we made this cute Mummy juice boxes for the party.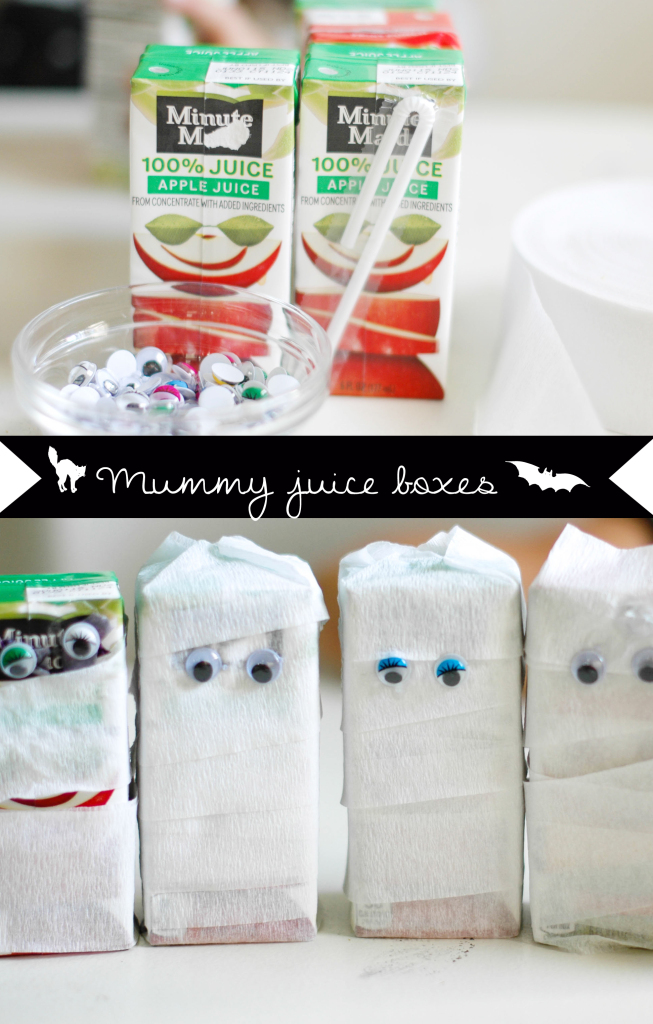
Things you need:
Eye balls (we found ours at Michael’s)
Juice boxes
White crepe paper roll
glue
Take straws off each juice box.
Wrap white paper around the juice and glue the end.
Add eyeballs.
Halloween Treats
Last year my sister-in-law bought these treats from a Harvest Festival and this year
we decided to make a craft-playdate with the kiddos.
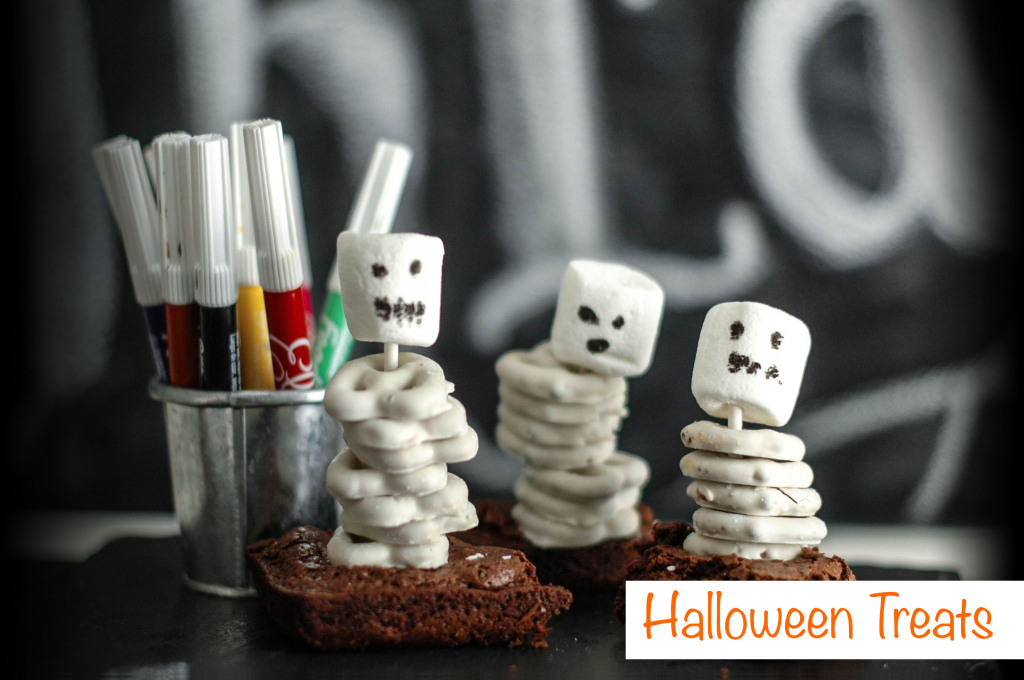
Things you need:
Brownie mix (follow recipe)
Marshmallows
White yogurt covered pretzels
Food markers (we bought ours at Michael’s)
lollipop sticks
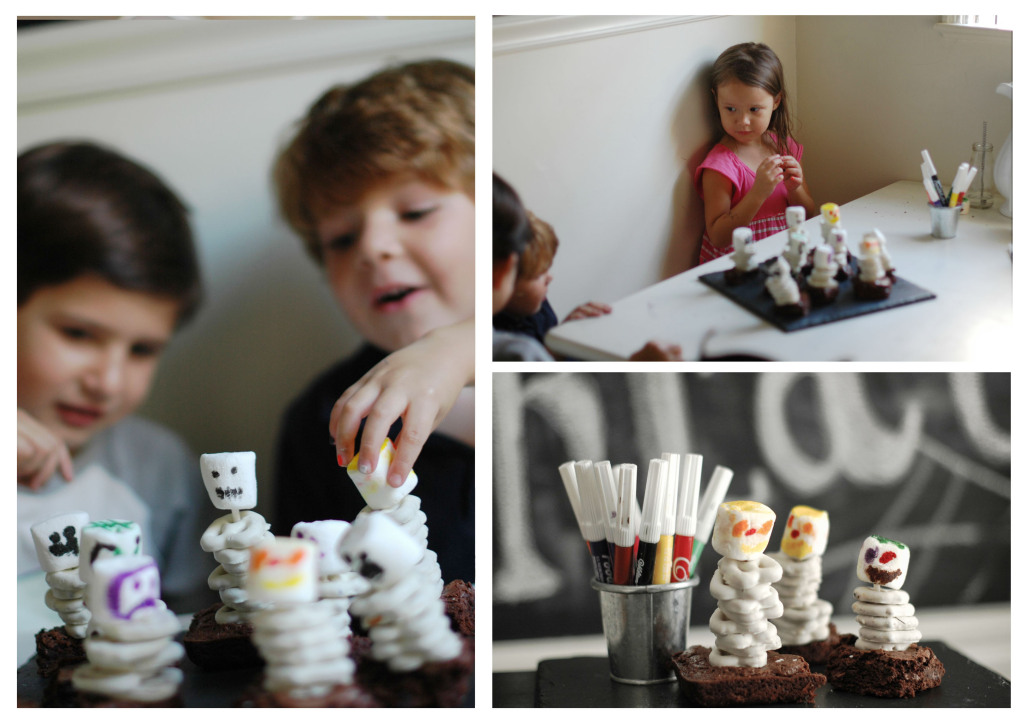
Cut brownies in square.
Place the lollipop stick in the middle of brownie to hold together the skeleton.
Use the white yogurt pretzels as the skeleton bones.
Place the marshmallow on top for the head.
Use the food markers to make the face of the skeleton.
A Year of Artwork
I treasure all of Everly’s artwork. I try and save all of her artwork from pre-school all year long. At the end of the school year I go through her piles of artwork. It probably takes me about 3 days, between scanning, taking pictures and lot’s of procrastination, but the end result is priceless!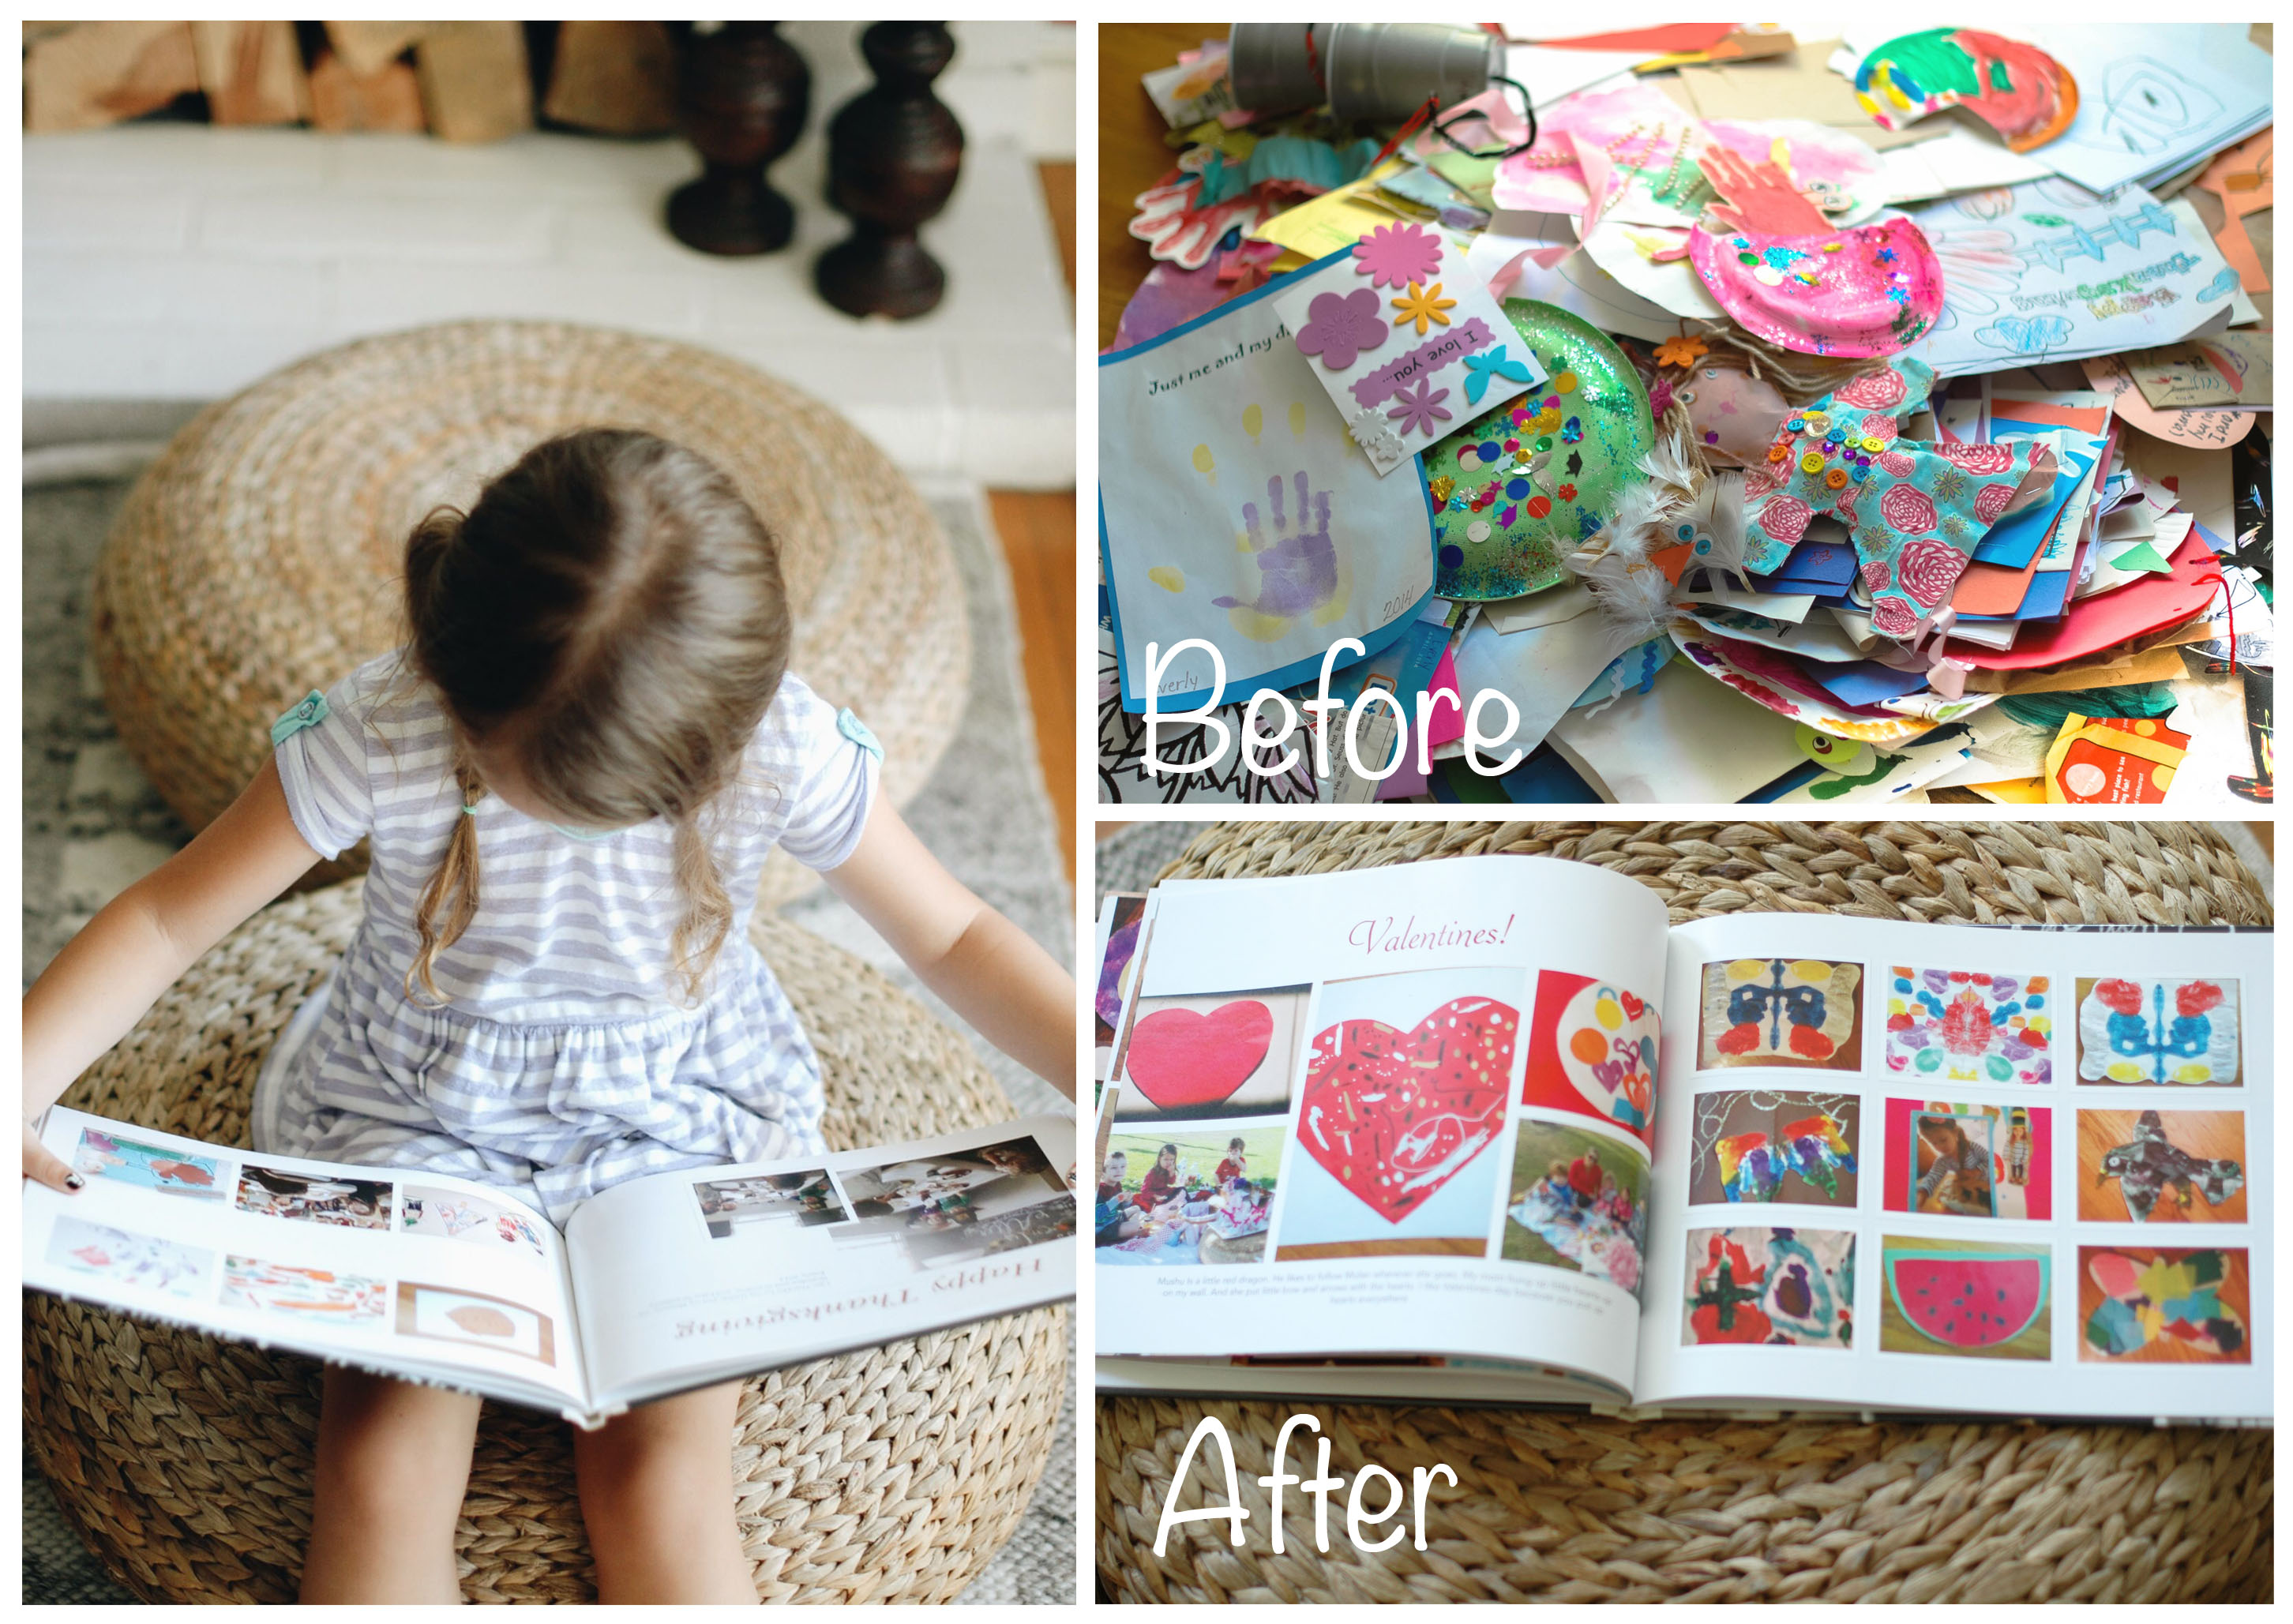
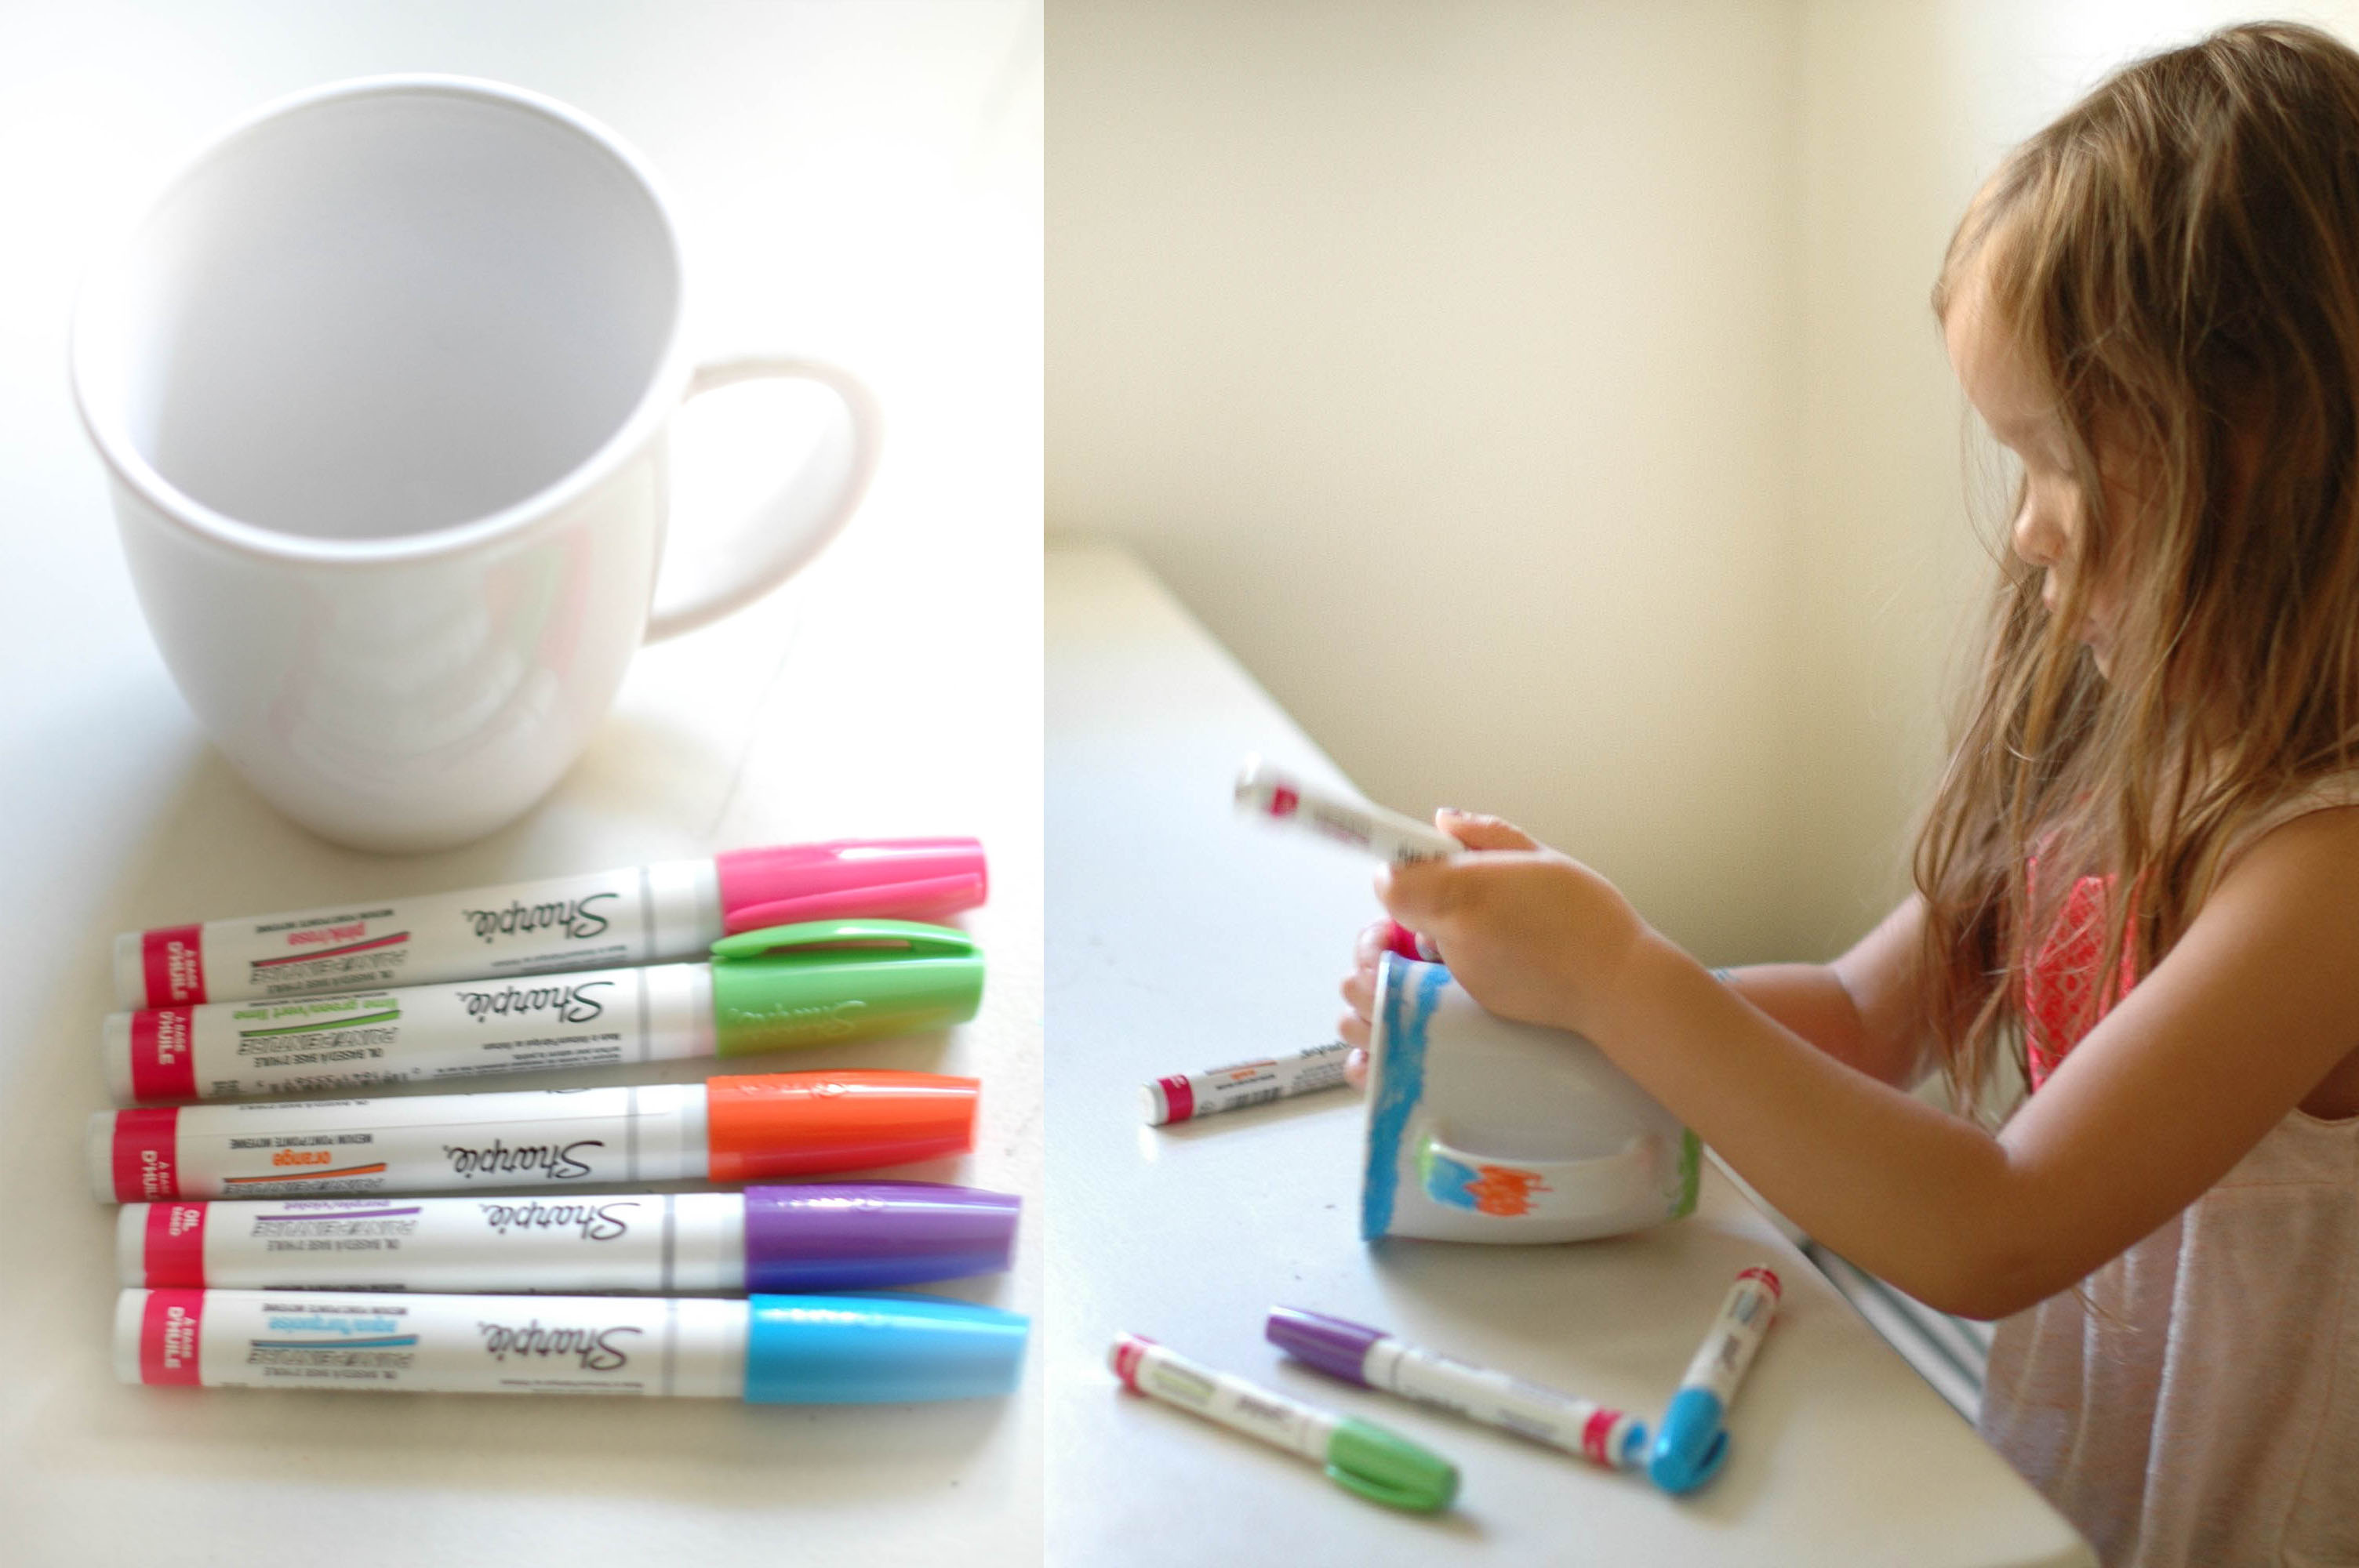
DIY Sharpie Mugs
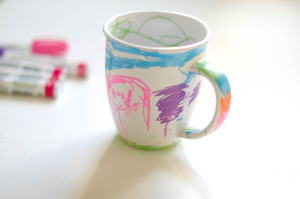
I’ve been looking at this DIY mugs project for a while and decided to give it a try. The first time I used regular sharpies and after washing them in the dishwasher a couple of times, the colors started to fade. After doing a little research I bought OIL-BASED Sharpies and so far they haven’t faded.
Maybe this time I will only hand wash them.
Easy and super cute project!
Welcome to Everly’s Pizzeria!
Walk-ins welcome, the only catch… you have to make your own pizza! We had our little friends over making their own dinner and keeping those little fingers busy.
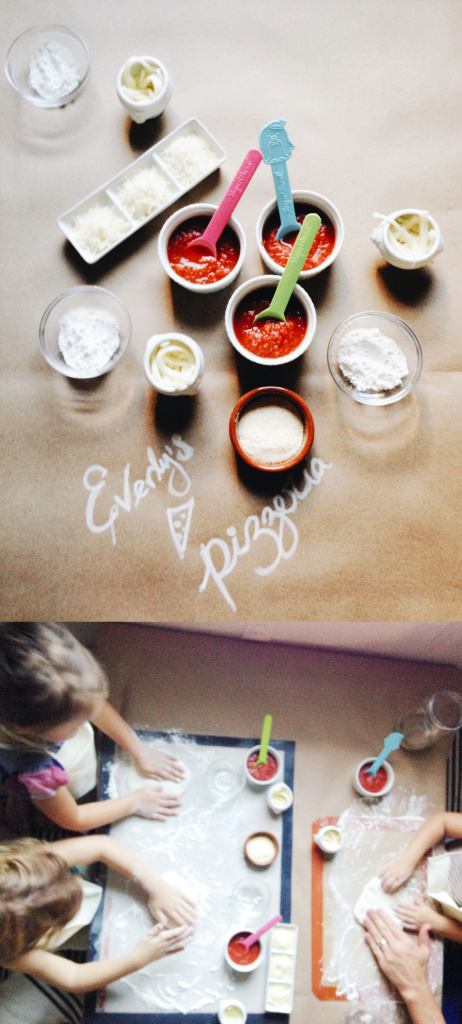
We bought the dough and sauce from our local Italian market, Angelo’s in Belmont Shore, but Trader Joe’s carries pizza dough for about $3 as well as Pizza Sauce. For the cheese we used cheese sticks (kid Friendly) and easy to use.
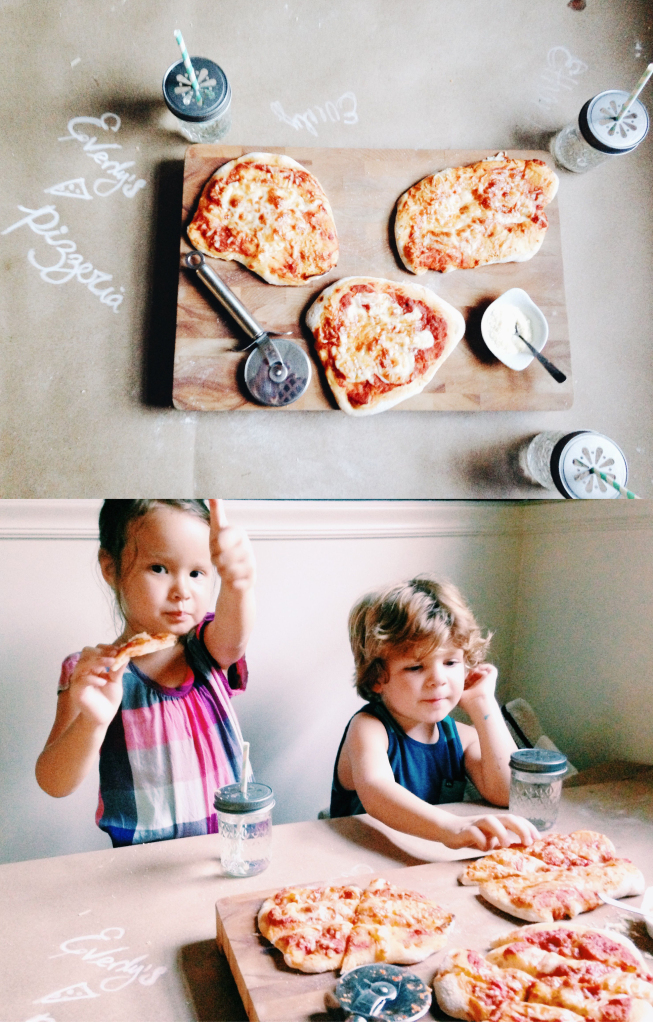
The pizza turned out great, and the kids ate every single piece!
1. Set oven to 450
2. Split the dough in 3 pieces
3. Using flour, start making a round shape with the dough
4. After you made a round shape for your pizza add the sauce and cheese.
5. Put in the oven for about 12 minutes and serve.
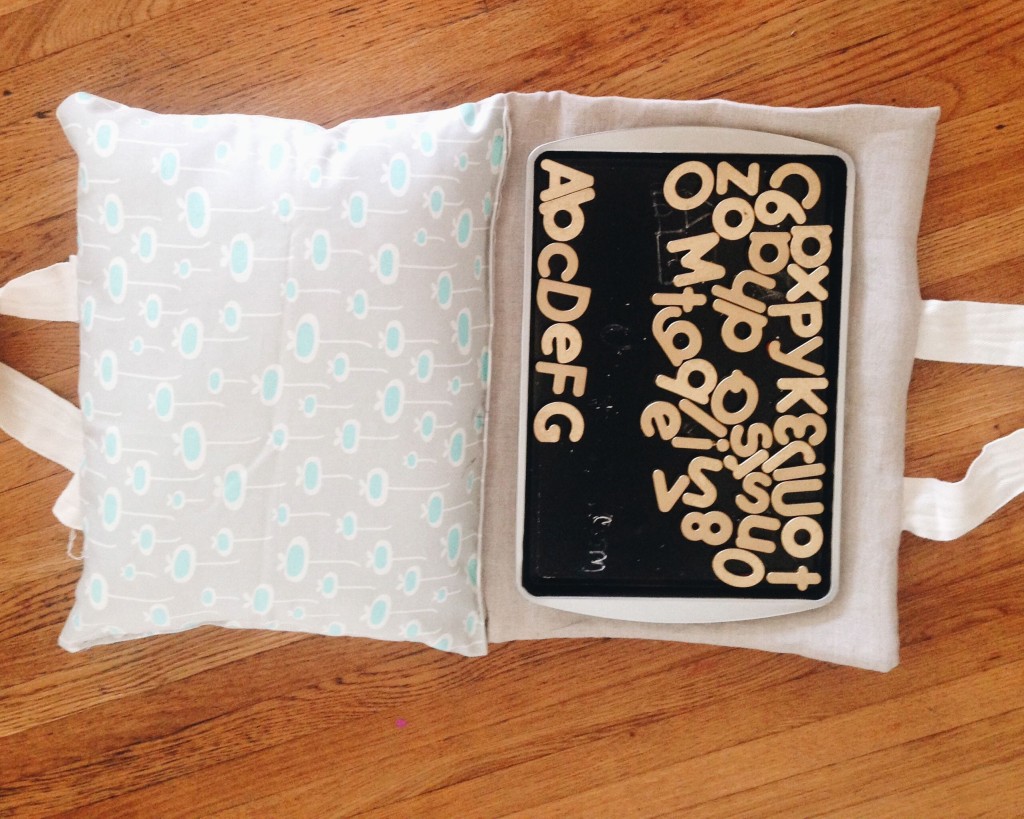
Travel Lap Pillow
Last night while looking for ideas to take on the plane for my 4 year old, I found this awesome tutorial from Prudent Baby. Last week we made the chalkboard with the alphabet letters and finding this was just perfect for our previous project.
So this morning I went to my little studio to find any scrap fabric to make this awesome travel pillow. I’m not a seamstress by any means and it sure didn’t turn out as cute as the original but it works for us. Here is the Tutorial
This is our version of the travel pillow.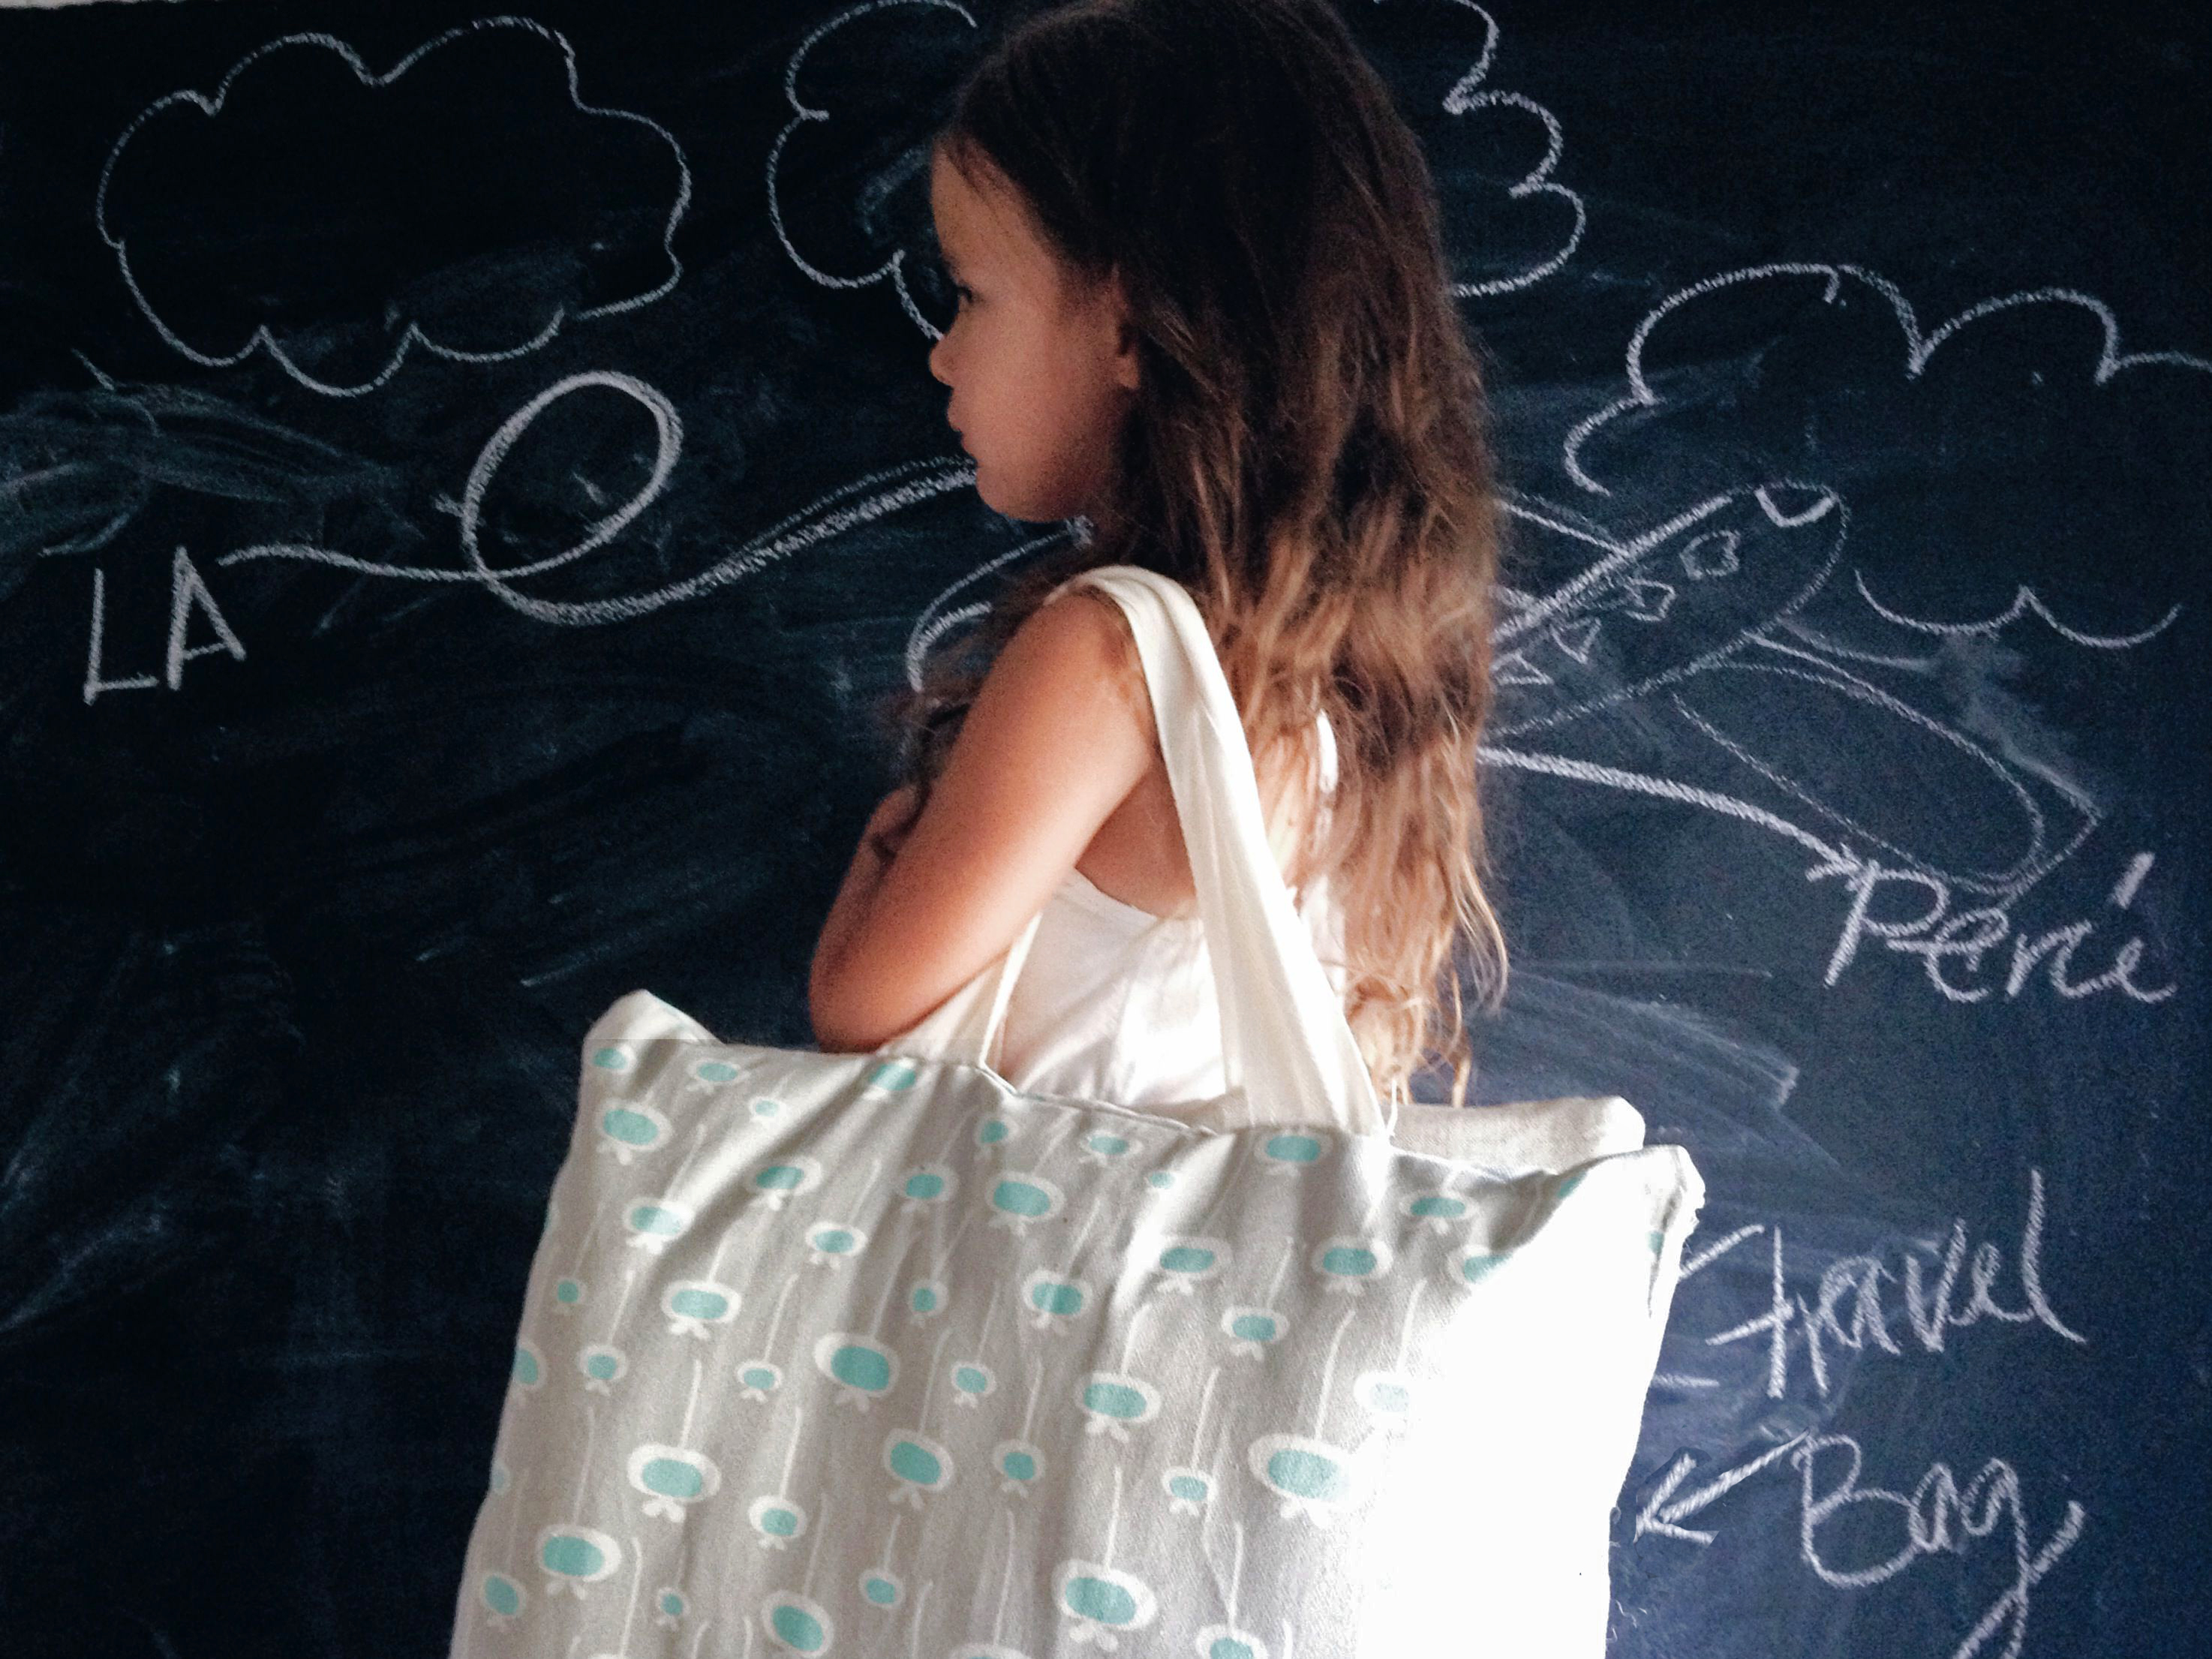 For the handles I used my old wraps from kickboxing. I have’t been back to kickboxing for about 18 months, I’m just glad I got to re-use them.
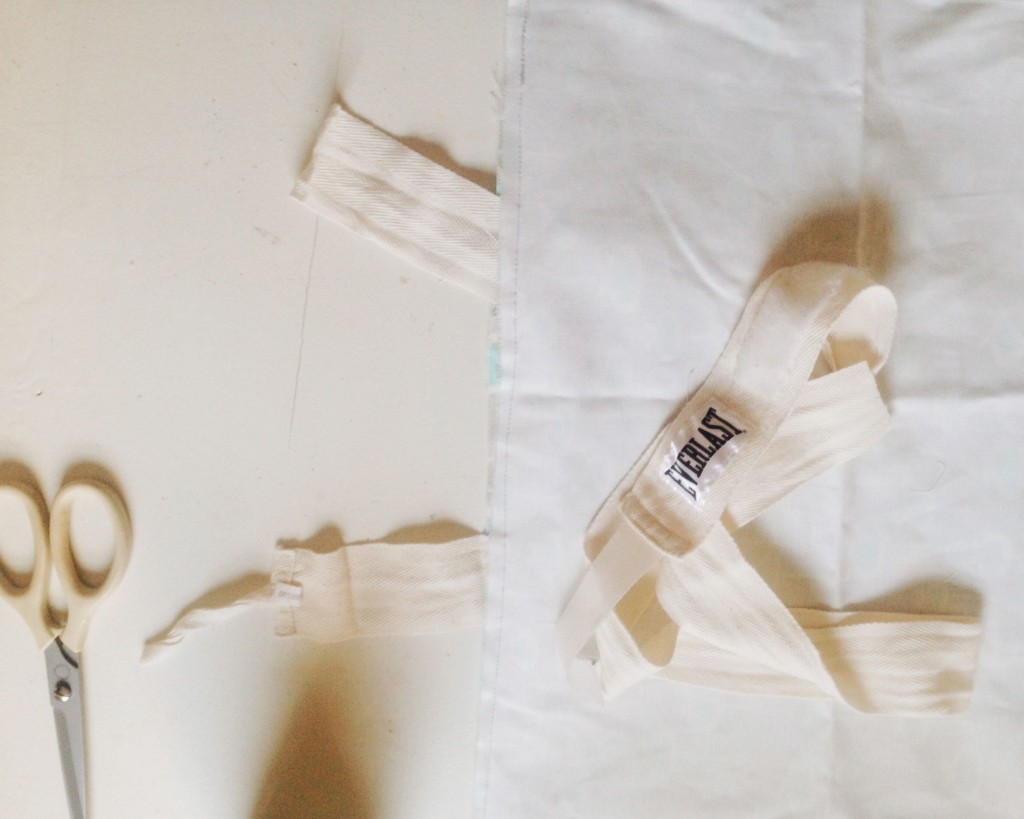
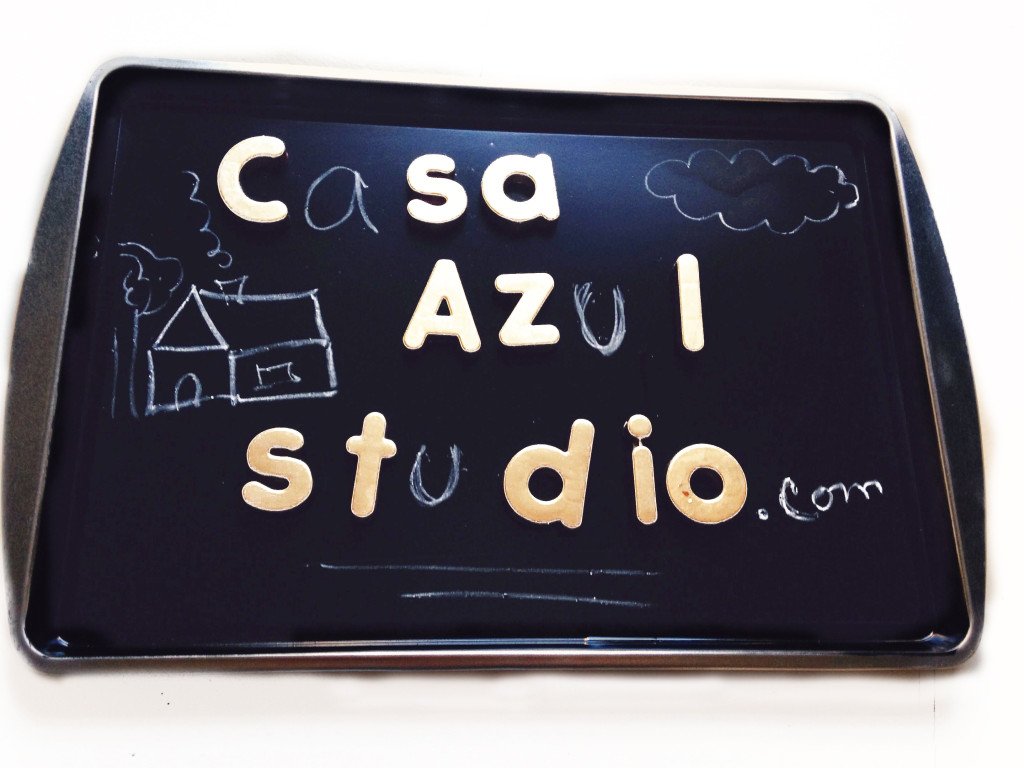
Spelling B
I’ve been looking for ideas to entertain my toddler on the plane and knowing she is really interested in writing and spelling. I think this will be perfect…

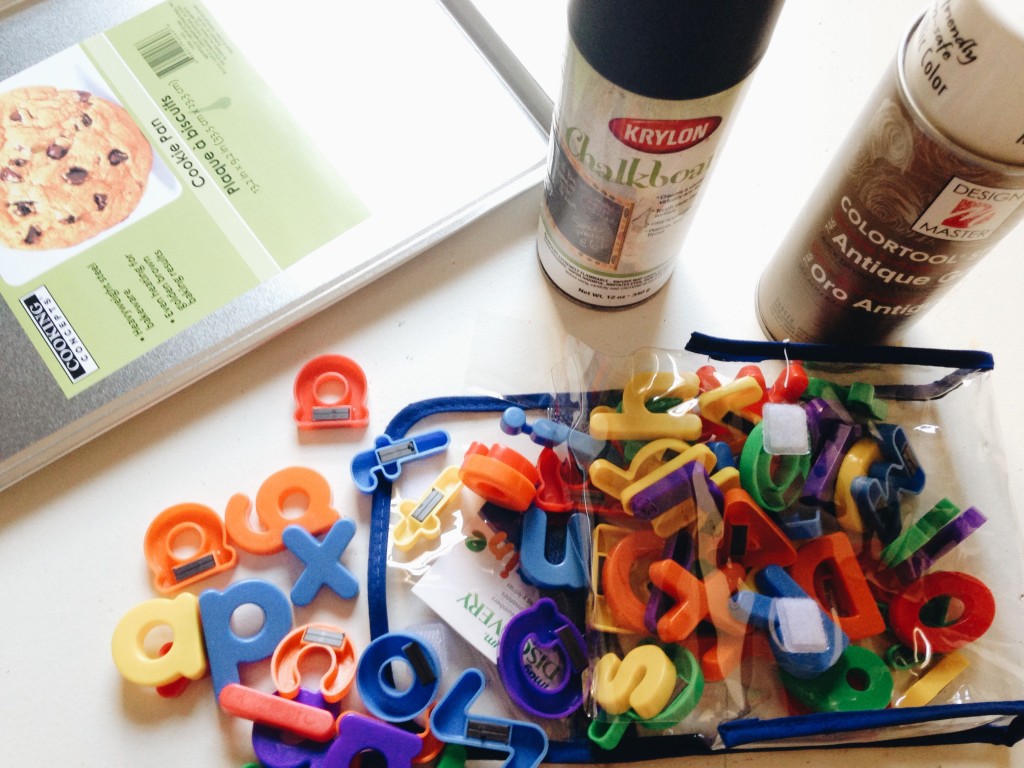
Things you need:
Cookie sheet, painters tape, Chalkboard spray paint for the cookie sheet, Magnetic letters and spray paint for the letters.
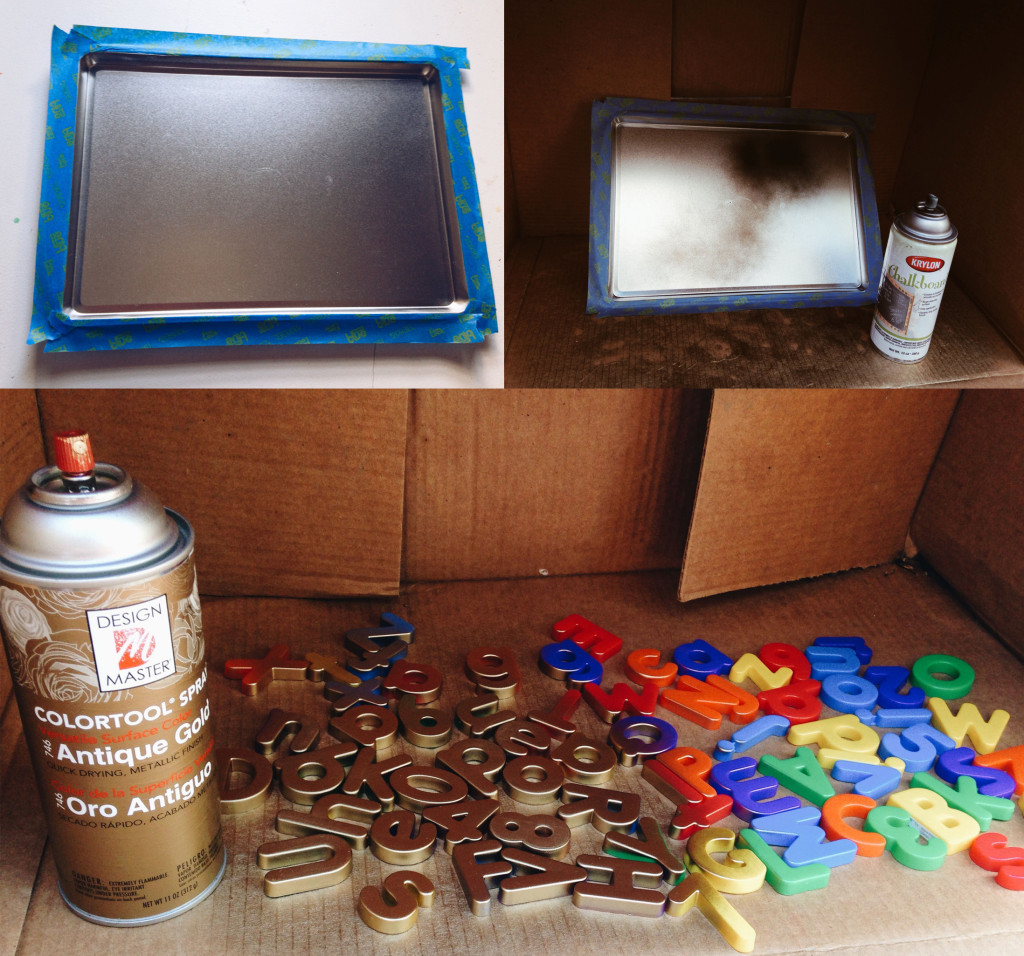
1.Tape around the area of the cookie sheet you want to paint . Once that is ready, spray paint with Chalkboard paint.
You might need to spray paint a couple of times and let it dry.
2. Place the letter facing up and spray paint with your favorite color. After they dry, rotate them and spray them again.
You might need to repeat this a couple of times till the letters are covered with paint.
Now let the Spelling Bee begin.
Cookie sheet /Dollar Store
Chalkboard paint /Home Depot
magnetic letters /Toys R US
Spray paint for letters / Home Depot
Foxy Stilts

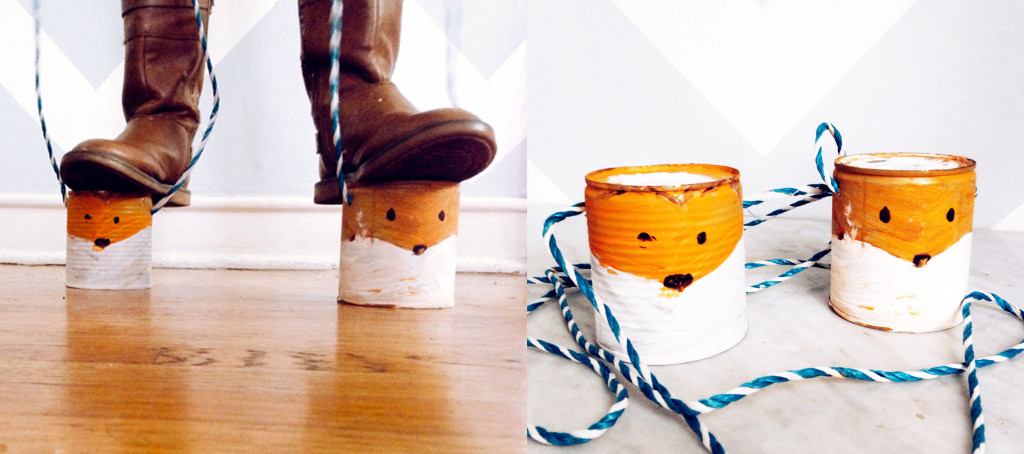 I’m always looking for projects to do with my kids.These Tin-Can Stilts are easy to make with materials you already have at home. Hope you enjoy them as much as my daughter does, the only draw back is they might be a little noisy if they are playing inside the house. Otherwise they are super fun!
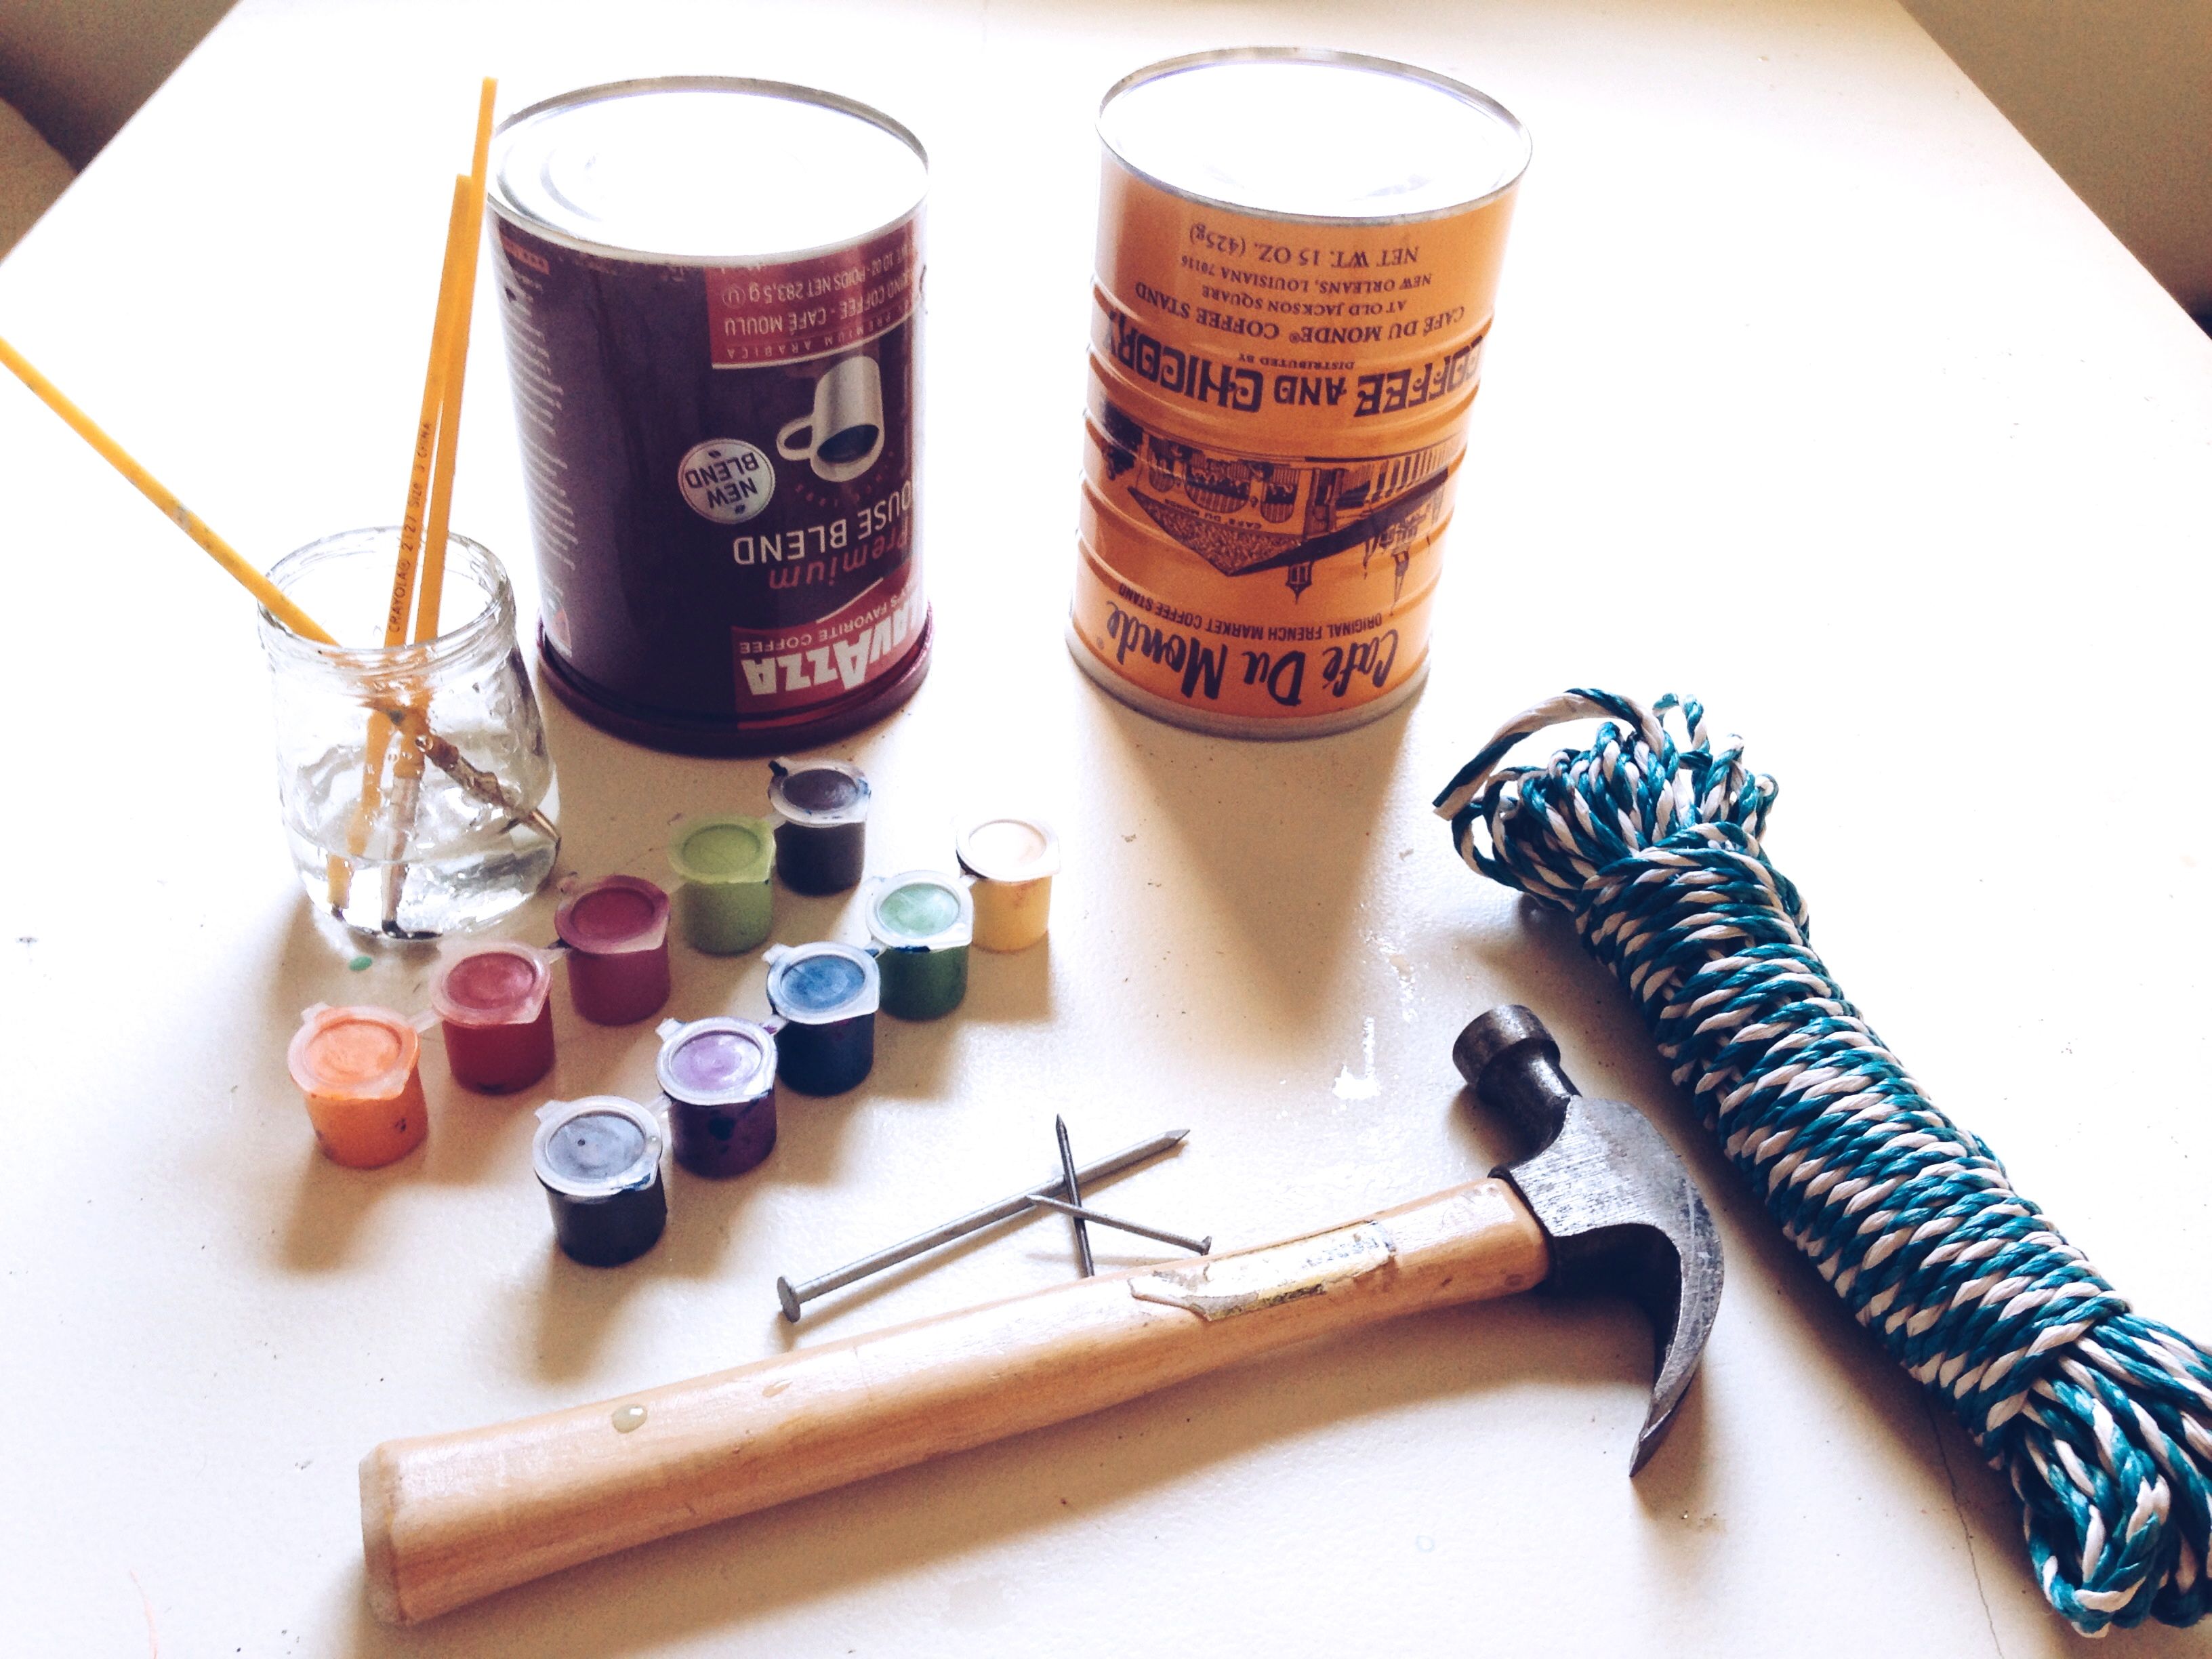
To make make one pair of stilts you need:
2 tin cans
rope, twine or string
paint ( I used paint my daughter already had)
hammer
medium or large nail
1. Remove label from cans. Wash with warm water and dry.
2. Decorate the cans with paint and let it dry.
3. Turn cans over (bottoms side up)
4. Using the hammer and nail, punch two holes in the can.
5. Use twine or string and push it through the holes in your can. Pull string through the inside
of the can and push it out through the other hole. Make sure you make a knot in each end of string.
Now stand on the stilt and pull the string tightly as you walk.
Enjoy
Frozen Slime

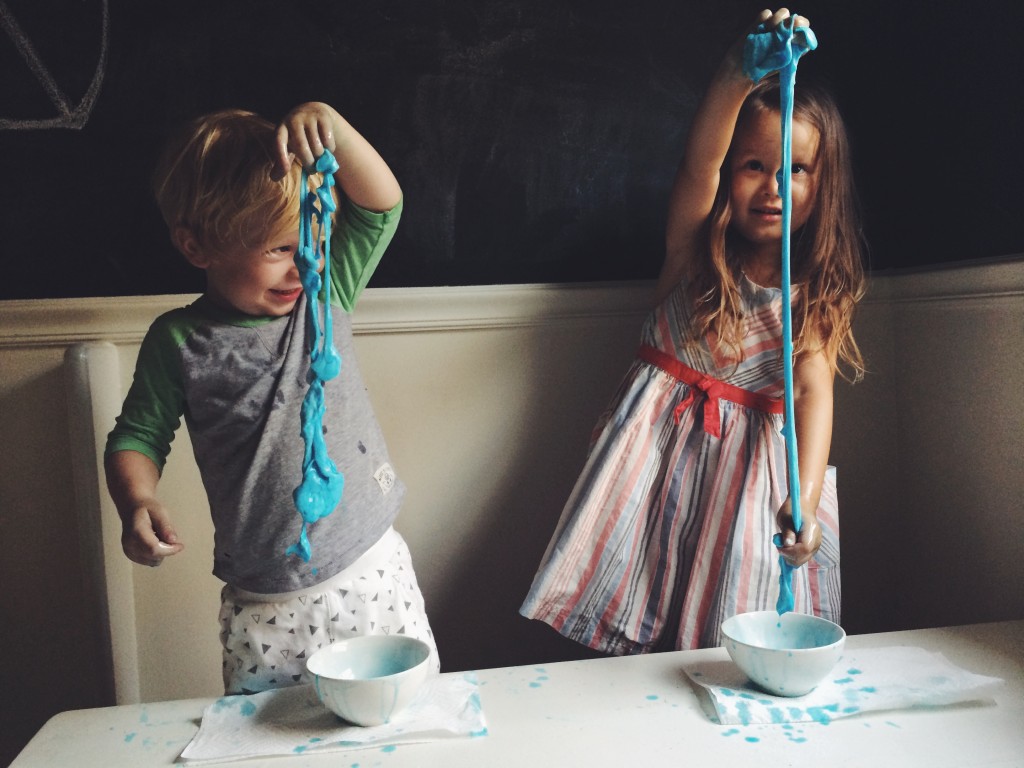
The kids love this super cheap and easy activity. I love it because it keeps them busy for at least 30 minutes. The only tricky part is finding the Sta-Flo liquid starch. I finally found it at Walmart, for $2.47.
Supplies:
Stay Flo liquid starch (Walmart, $2.47)
Bottle of White Glue (Target, .34¢)
Glitter (Oriental Trading)
1 drop of blue food coloring
It’s really this simple: Pour the bottle of glue into a mixing bowl. Keep the empty glue bottle and fill it up with Sta-Flo (you want the same amount of each ingredient). Then pour the Sta-Flo into the bowl and start massaging both ingredients together. Add some glitter of your choice and a drop or two of food coloring. Then prepare to get SLIMED!
photo credit : Jack & Lola Photography