Awesome Iced Lemon Pound Cake

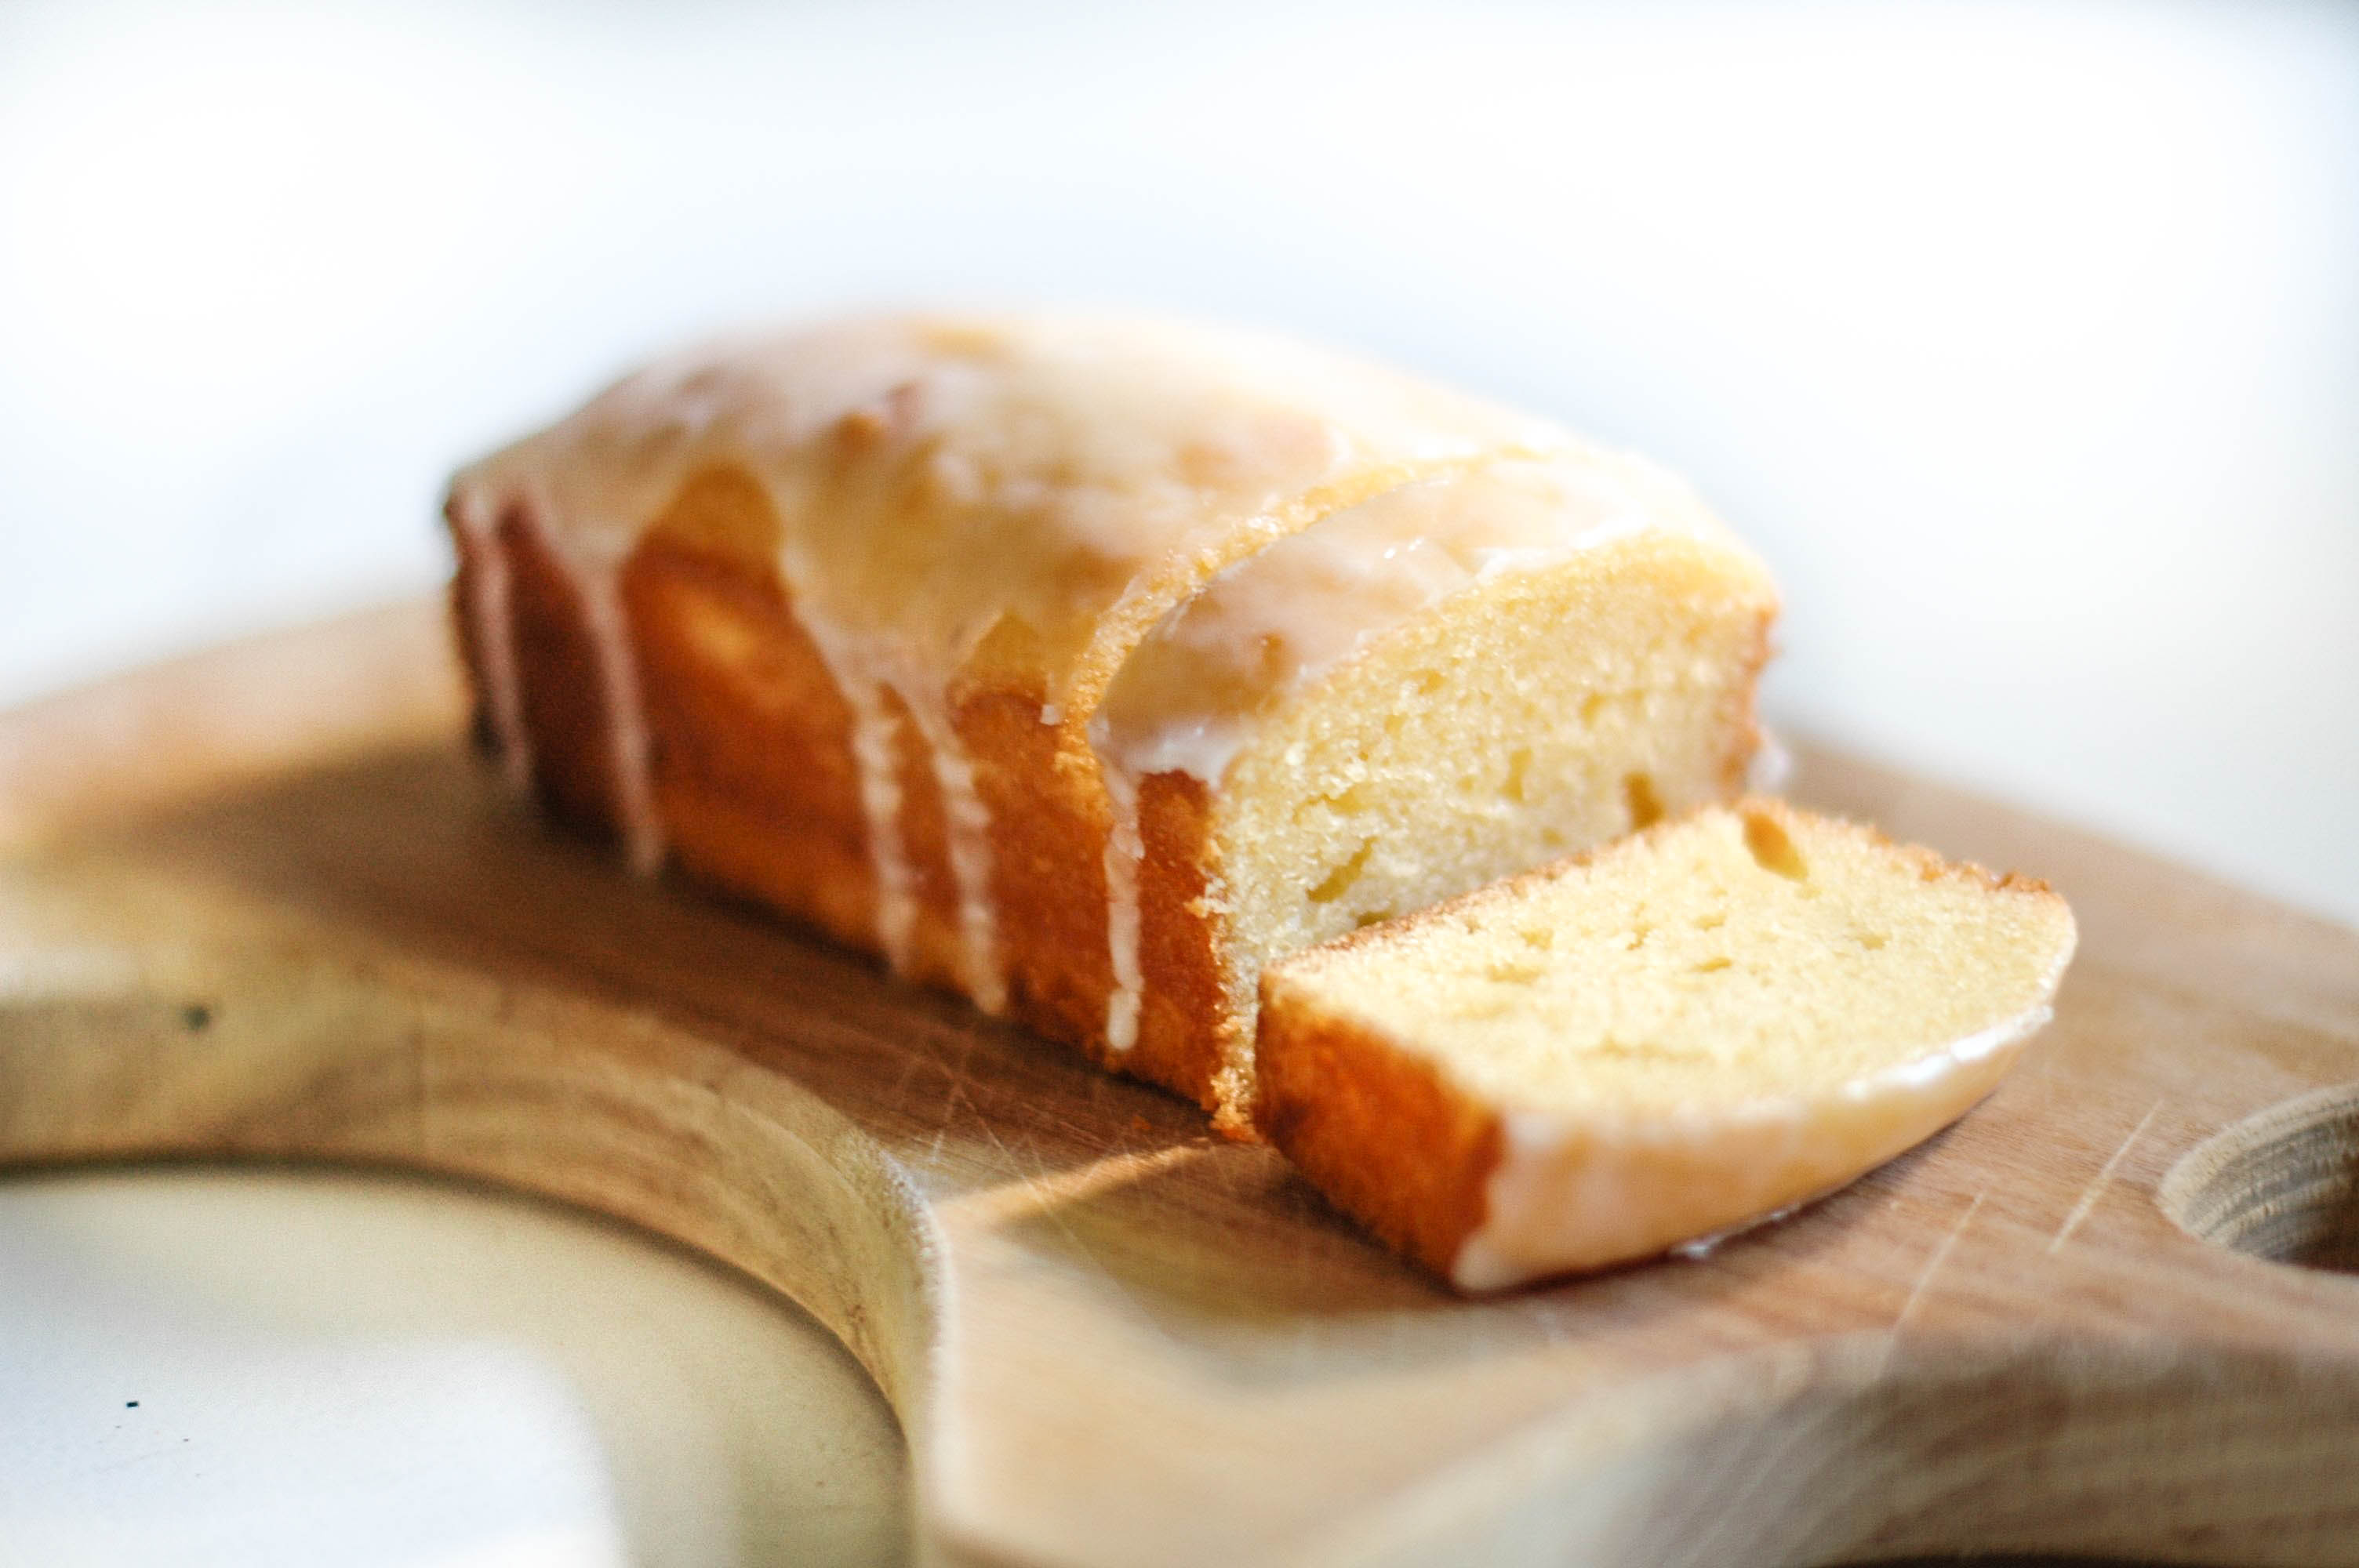
I found this awesome recipe on Pinterest, not only is it easy to make but it sure taste just like the lemon pound cake at Starbucks.

Enjoy!

lemon cake

1 box yellow cake mix

3.4 ounce instant lemon pudding mix

1/2 cup vegetable oil

4 large eggs

1/2 cup milk

8 ounces sour cream

4 tablespoons freshly squeezed lemon juice

Icing:

2 1/2 cups powdered sugar

3-4 tablespoons freshly squeezed lemon juice

1. Preheat oven to 350 degrees F.

Spray your loaf pans with cooking spray or use butter ( I used the mini loaf pans 5 1/2″ x 3″ x 2 1/4) but you can use anything you have.

Mix all ingredients together in no particular order with an electric mixer for about 2 minutes, place batter equally in the loaf pans.

Bake approximately  40-45 minutes , all ovens are different so I usually stick a wooden stick in to make sure the cake is baked.

Icing: Sift powdered sugar into a bowl, add the fresh lemon juice and stir. Make sure the loafs are cool before drizzling the icing on top.

Cusco

I’ve been putting off writing this post about our trip. Let’s just say it didn’t go as I planned.
After 2 long flights, we finally landed in Cusco. My girls did so well and they were happy to finally be on land.
Cusco is such a magical town, it always takes me back to my childhood. Even though Cusco is a tourist destination
and a little bit too expensive, it’s magical and beautiful and worth visiting.
This time I was flying for “La Garramada,”  a big family reunion with about 125 family members.
It was so great seeing family I hadn’t seen since I was probably 11 years old.
We visited the hacienda where my grandmother was born  in Oropesa, and it seems like that little town was stuck in time.
Cusco is located 11,200 ft above sea level and almost feels like you can touch the beautiful sky with your fingers.
I love this town so much, this is where I got married and where I baptized Everly, so it holds a special place in my heart.
People in this town are so friendly, there are always parades and delicious food.
But with that said… the weather can be brutal and I probably won’t take back an 8 month old baby again. We all got 
so sick after after the first week. We had a horrible cold, 104 fevers, a cough and all those wonderful things that come with being sick.
Here some pictures before we got sick.
Cusco B3
cuscoB4

Foxy Stilts

foxy stilts2I’m always looking for projects to do with my kids.These Tin-Can Stilts are easy to make with materials you already have at home. Hope you enjoy them as much as my daughter does, the only draw back is they might be a little noisy if they are playing inside the house. Otherwise they are super fun!Processed with VSCOcam with a5 preset

To make make one pair of stilts you need:
2 tin cans
rope, twine or string
paint ( I used paint my daughter already had)
hammer
medium or large nail
1. Remove label from cans. Wash with warm water and dry.
2. Decorate the cans with paint and let it dry.
3. Turn cans over (bottoms side up)
4. Using the hammer and nail, punch two holes in the can.
5. Use twine or string and push it through the holes in your can. Pull string through the inside
of the can and push it out through the other hole. Make sure you make a knot in each end of string.
Now stand on the stilt and pull the string tightly as you walk.
Enjoy


Frozen Slime


Processed with VSCOcam with f2 preset

The kids love this super cheap and easy activity.  I love it because it keeps them busy for at least 30 minutes. The only tricky part is finding the Sta-Flo liquid starch. I finally found it at Walmart, for $2.47.

Supplies:

Stay Flo liquid starch (Walmart, $2.47)

Bottle of White Glue (Target, .34¢)

Glitter (Oriental Trading)

1 drop of blue food coloring

It’s really this simple: Pour the bottle of glue into a mixing bowl. Keep the empty glue bottle and fill it up with Sta-Flo (you want the same amount of each ingredient). Then pour the Sta-Flo into the bowl and start massaging both ingredients together. Add some glitter of your choice and a drop or two of food coloring. Then prepare to get SLIMED!

photo credit : Jack & Lola Photography